 Realistic Sketch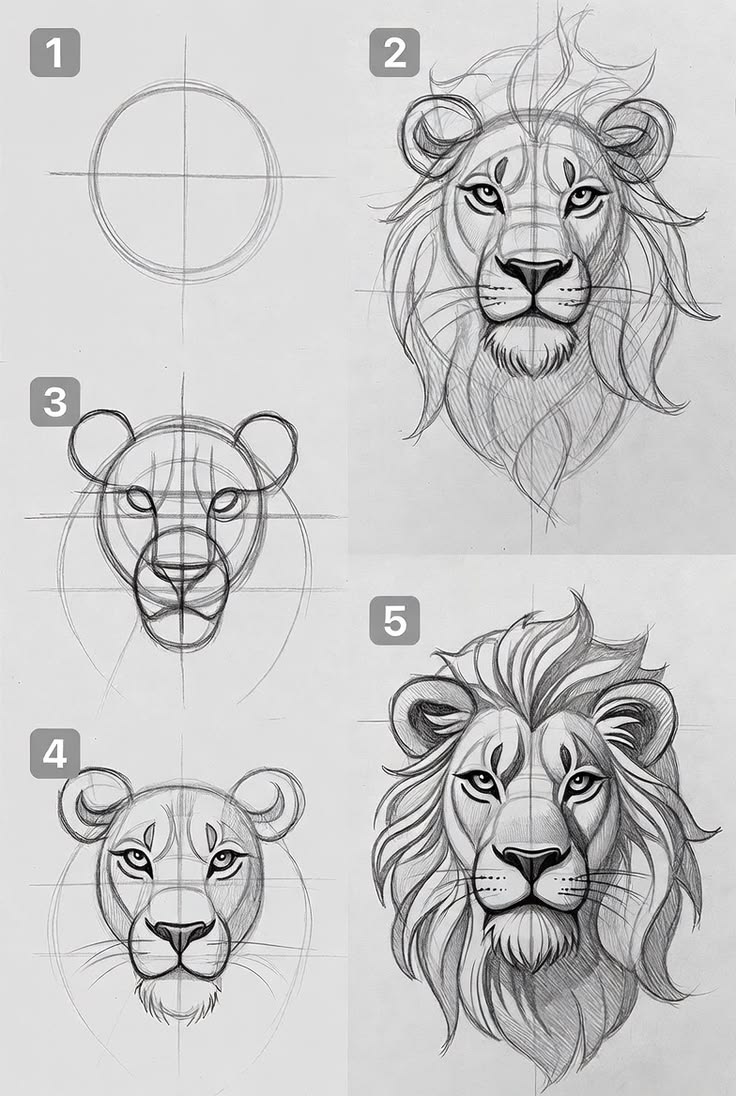
A lion’s head is a strong, almost rectangular structure once the mane is set aside. Establishing that underlying mass first makes the flowing mane far easier to place convincingly.
1. Head Structure
Block in the skull: forehead, cheekbones, muzzle, and jaw. The eyes sit relatively high and forward. The nose is broad. Keep early lines light.
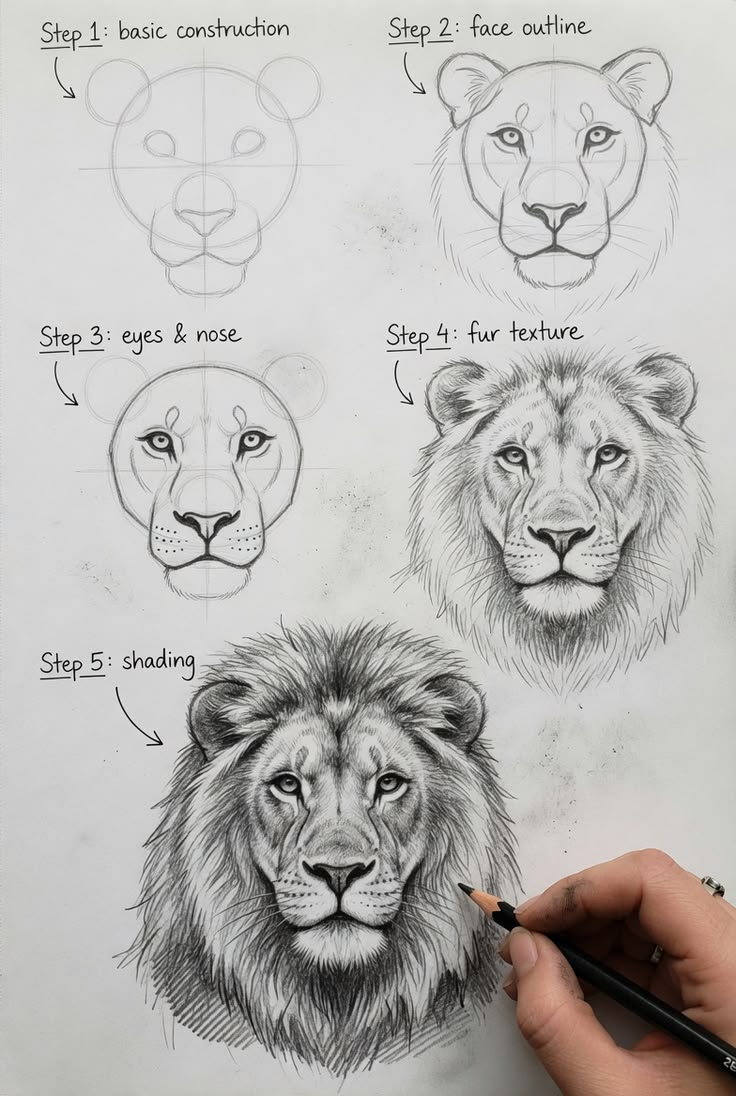
2. Features and Expression
Refine the eyes, nose, and mouth. Lions often carry a solemn or intense expression; careful edge control around the eyes and a firm set of the mouth contribute to presence. Soften transitions where the muzzle turns into the cheek.
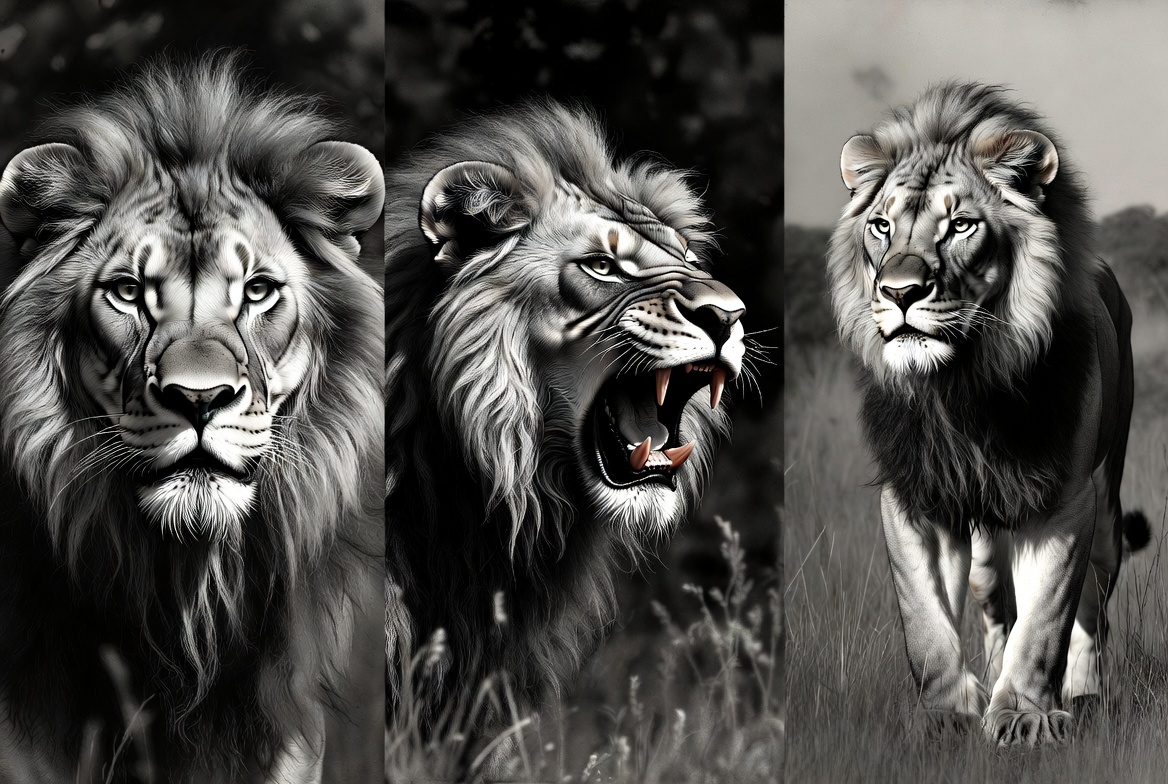
3. Mane
Treat the mane as large masses of value first, then indicate directional hair groups. Avoid drawing every strand. Darker recesses between locks of hair create depth. The mane frames the face and should not compete with the facial structure for attention unless that is your deliberate goal.
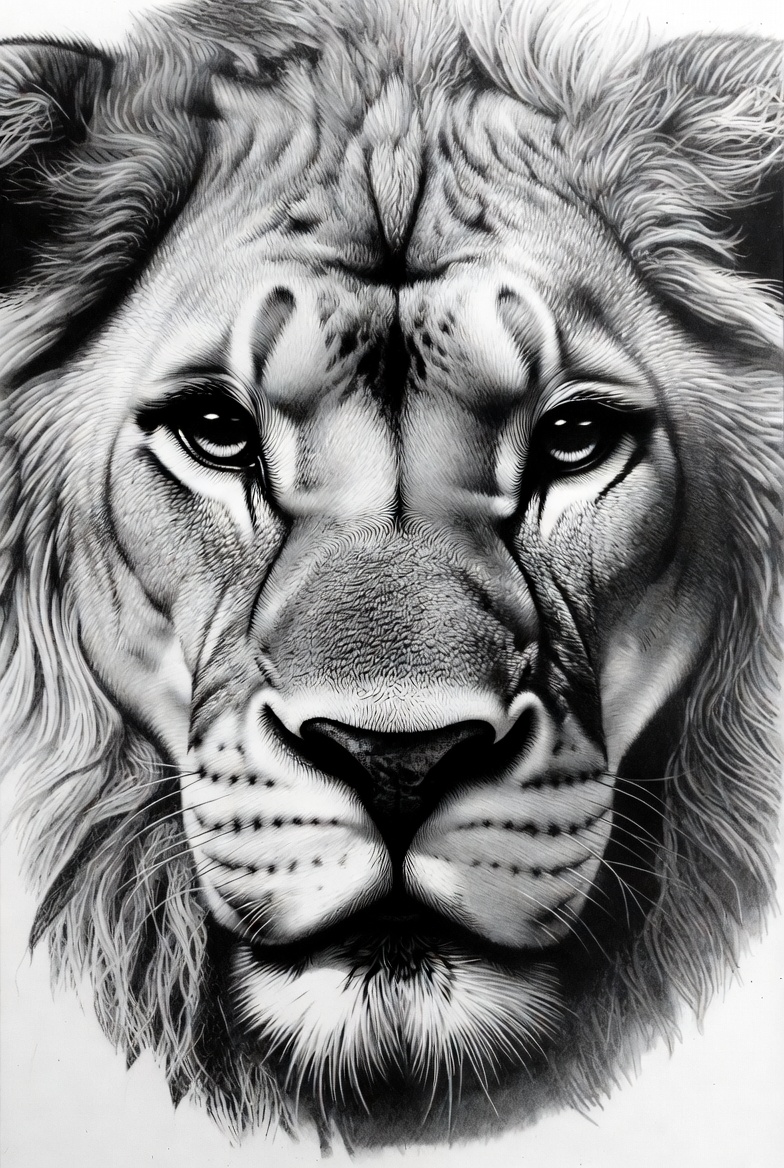
Materials and Shading Strategy
A small pencil range is enough for this study. An HB pencil works well for the first construction, while 2B and 4B pencils can build the dark accents around the eyes, nose, mouth, and deeper parts of the mane. A kneaded eraser is useful for lifting soft highlights without cutting a hard white shape into the drawing.
Build the values gradually. Before adding individual hairs, compare the light side of the face, the shadow side, and the darkest parts of the mane. If those larger value groups read clearly from a distance, the later texture will have a much stronger foundation.
Common Problems to Watch For
- Mane drawn as separate lines: group the hair into locks and shadow masses first.
- Muzzle too narrow: compare its width with the nose and the distance between the eyes.
- Flat-looking face: use softer transitions on rounded forms and reserve sharper edges for focal details.
- Too much detail too early: finish the proportions and main values before committing to texture.
Practice Notes
- Work from a clear reference with strong lighting.
- Check symmetry of the facial features early and often.
- Step back to evaluate overall silhouette and value balance.
Explore more in the Animal Gallery and other Tutorials.