 Realistic Sketch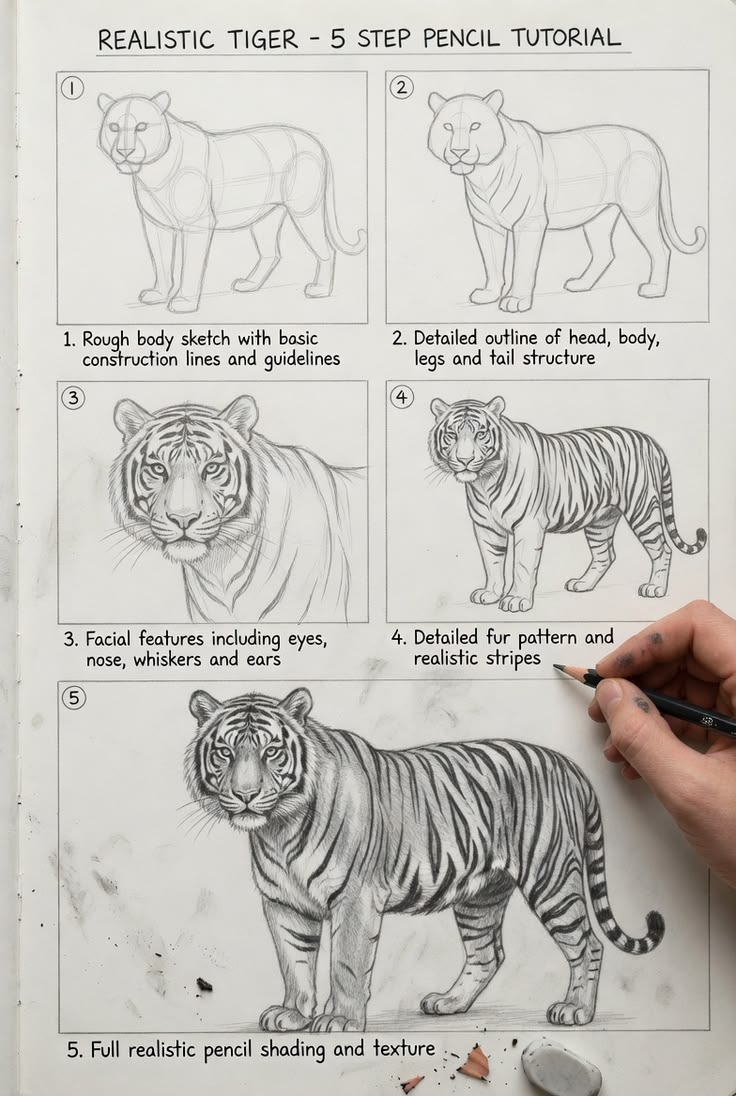
Tigers combine strong structural form with complex surface pattern. The key is to establish solid underlying anatomy before investing time in individual stripes and fur strokes.
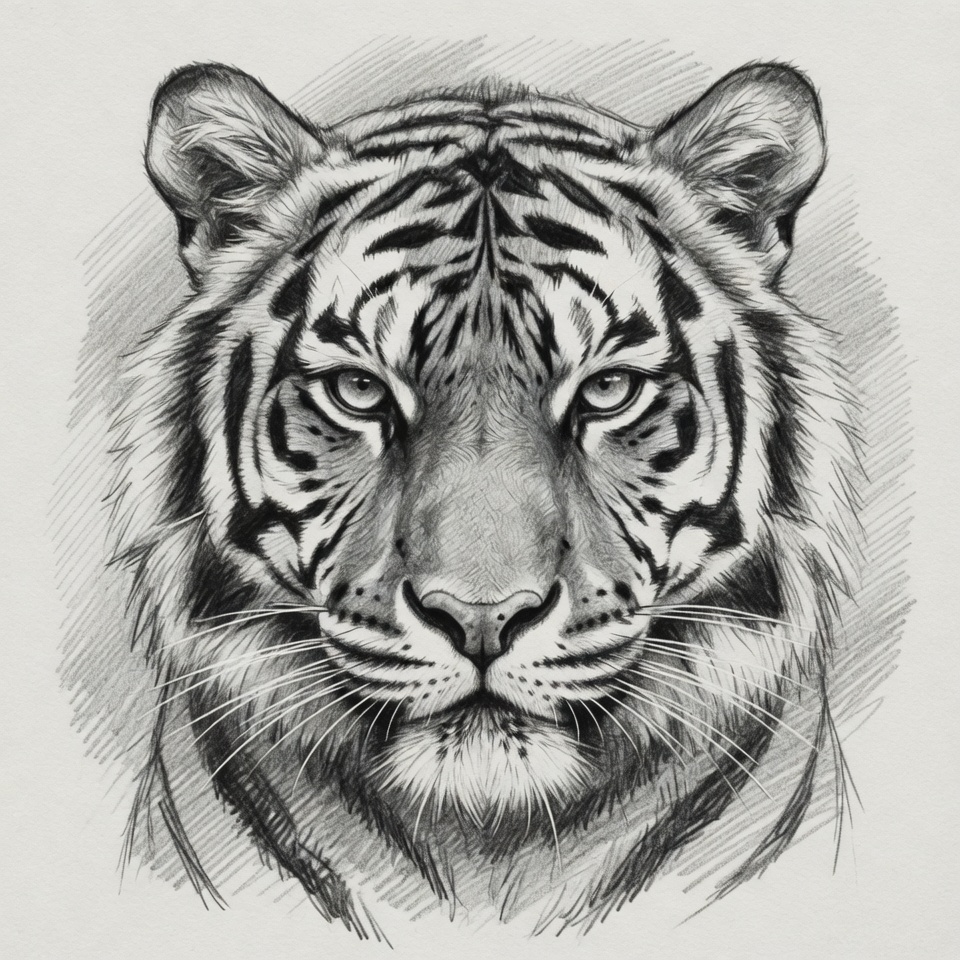
1. Establish Proportions
Block in the overall head shape. Note the relatively short muzzle compared with many other big cats, the placement of the eyes, and the width of the cheeks. Use light HB lines so corrections remain easy.
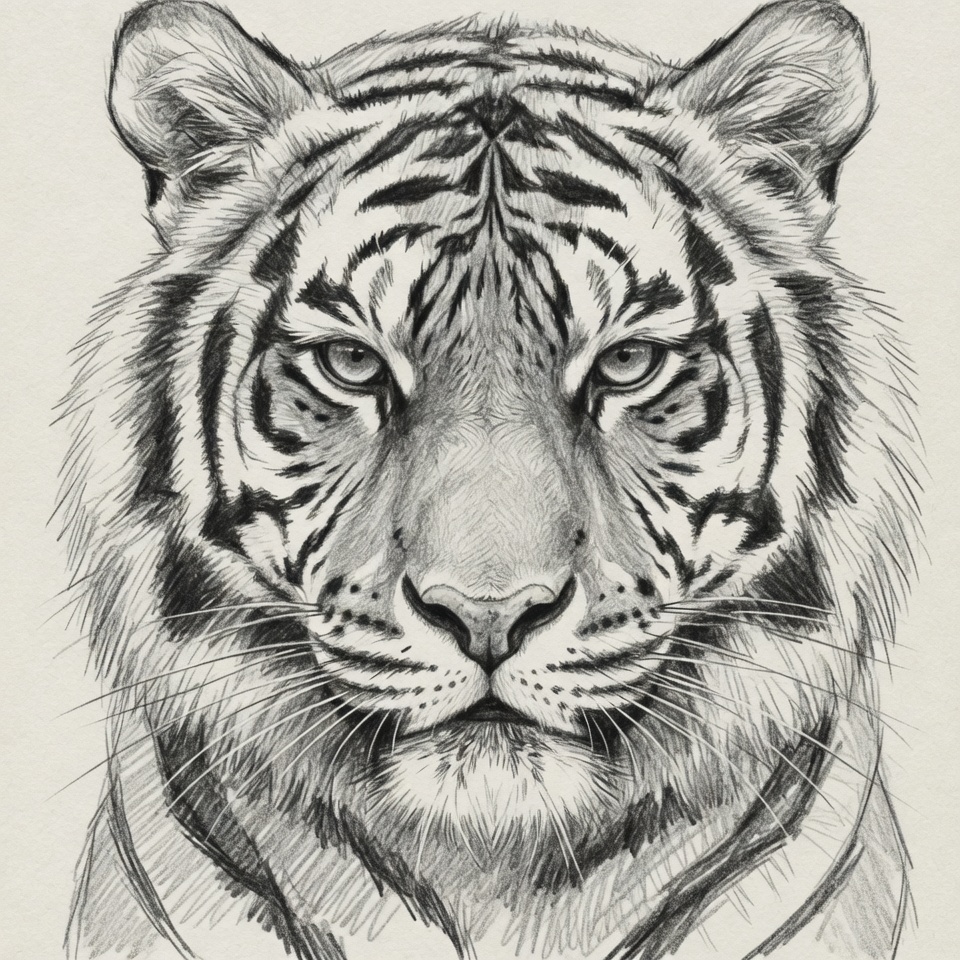
2. Map the Major Planes and Markings
Indicate the planes of the forehead, cheeks, and muzzle. Lightly place the major stripe groups — they follow the underlying form and should not be drawn as flat decorations. Keep values soft at this stage.
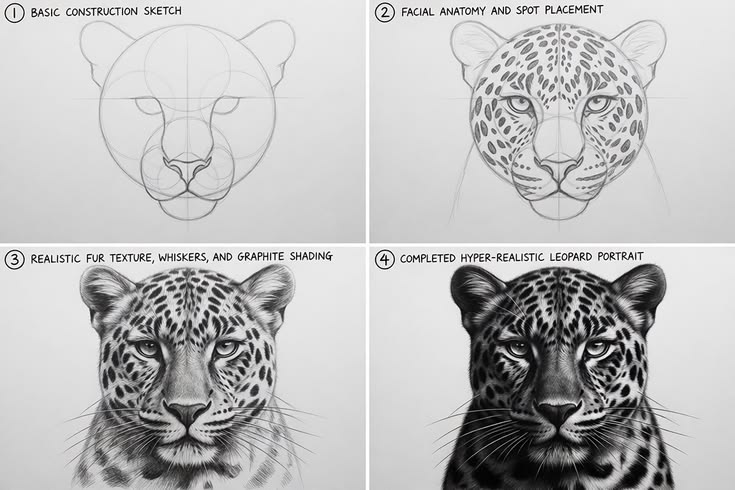
3. Develop Value and Fur
Build darker values in the deeper recesses and around the eyes. Use directional strokes that follow the growth pattern of the fur. Vary pressure and length of stroke. Leave lighter areas of the paper to serve as the lighter fur and highlights rather than drawing every hair.
Materials and Value Planning
Start with an HB pencil for the construction and stripe placement, then move to 2B or 4B for the deepest markings and shadow accents. Keep a kneaded eraser nearby for whisker areas and small highlights. Smooth paper makes tiny fur details easier, while slightly textured paper can give the coat a more natural broken edge.
Before rendering fur, simplify the reference into three broad groups: light fur, middle-value form shadows, and the darkest stripes. This prevents the markings from overpowering the head structure and helps the face remain three-dimensional even before fine texture is added.
Common Problems to Watch For
- Perfectly mirrored stripes: use the reference carefully; natural markings vary from side to side.
- Fur strokes all the same length: vary direction, length, and pressure around the muzzle, cheeks, and forehead.
- Eyes becoming too dark: preserve the iris pattern and highlight before deepening surrounding values.
- Flat stripes: curve each marking with the plane of the forehead, cheek, or muzzle beneath it.
Tips
- Stripes wrap around form; they are never simply parallel lines on a flat surface.
- Eyes are intense — preserve a clear highlight and careful edge quality around the iris.
- Step back frequently to check overall value balance rather than overworking one area.
See more animal studies in the Animal Gallery.